
Connect Codex to Notion
Connect Codex to Notion through ApexGenius. Search accessible pages, read chosen sources, and review updates in your authorized workspace. Start in Plugins in the ChatGPT desktop app and authorize your connection.
7 days free · No card required
How to connect Notion to Codex
Before you start
- A Notion account with access to the workspace you want to connect.
- Permission from your workspace owner if your organization limits MCP connections.
1. Connect Notion to ApexGenius
- Open Notion in Connections. Sign in to ApexGenius, open Connections, choose Notion, and select Connect.
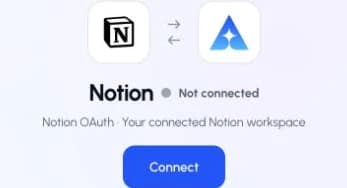
Open Notion in Connections and choose Connect to start setup.Open full-size image (opens in a new tab) - Choose the account and review access. Sign in to the intended Notion account. Choose your workspace and review Notion’s requested access. Return to ApexGenius after authorization.
- Check the workspace and tools. Open Tools and enable the intended workspace resource. Your existing Notion permissions set the content boundary. Choose Read only when adding your AI agent for the first test.
- Verify the connected account. Use Test connection, then ask your AI the question below. Compare the returned user with the account you authorized and check Tool Activity.

2. Add ApexGenius to Codex
- In the desktop app, open Settings, then MCP servers and Add server.
- Name the server ApexGenius, choose Streamable HTTP, and paste the MCP address above.
- Save, then select Restart. Choose Authenticate for ApexGenius and complete the browser sign-in.
- When ApexGenius asks what this AI client may use, choose Read only for the first test, or Custom to limit it to the tools you need.
- Start a new conversation and select ApexGenius from the available tools before asking for live data.
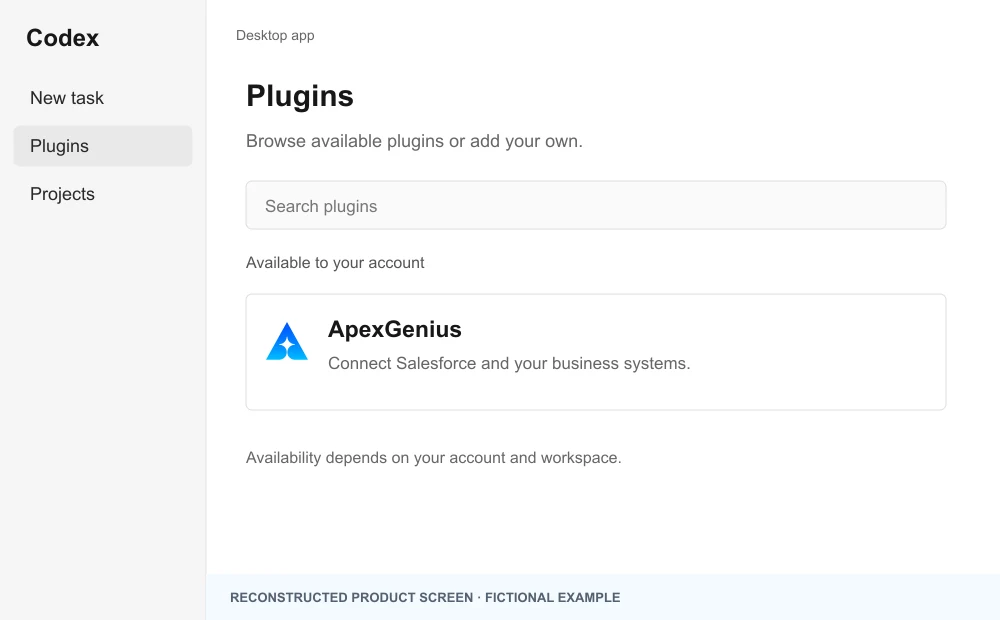
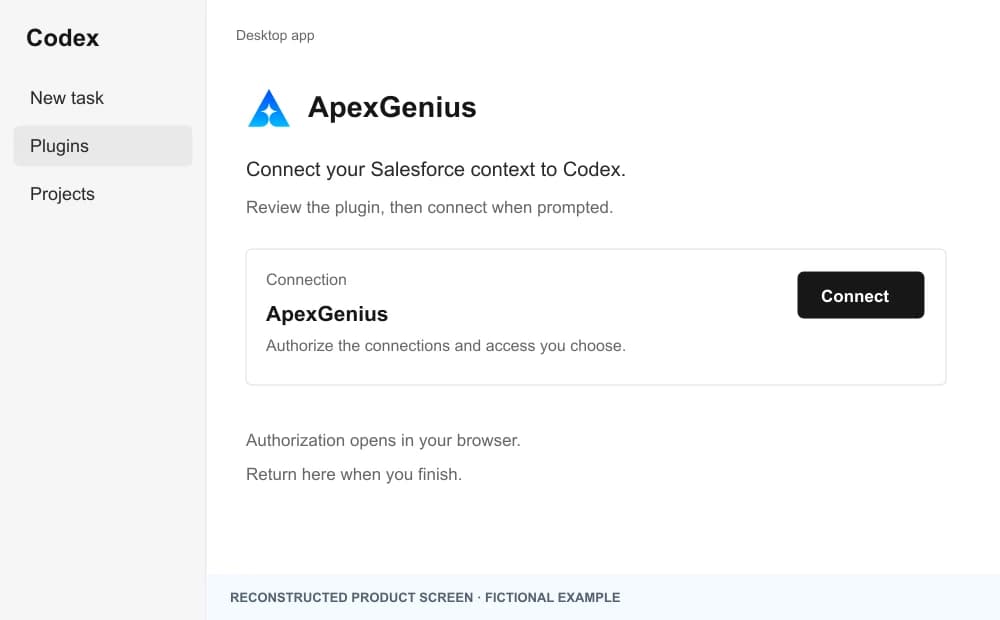
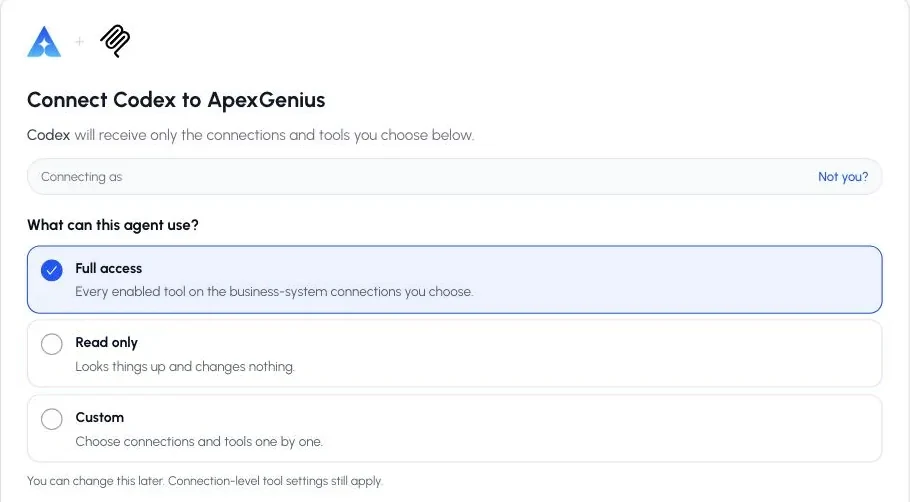
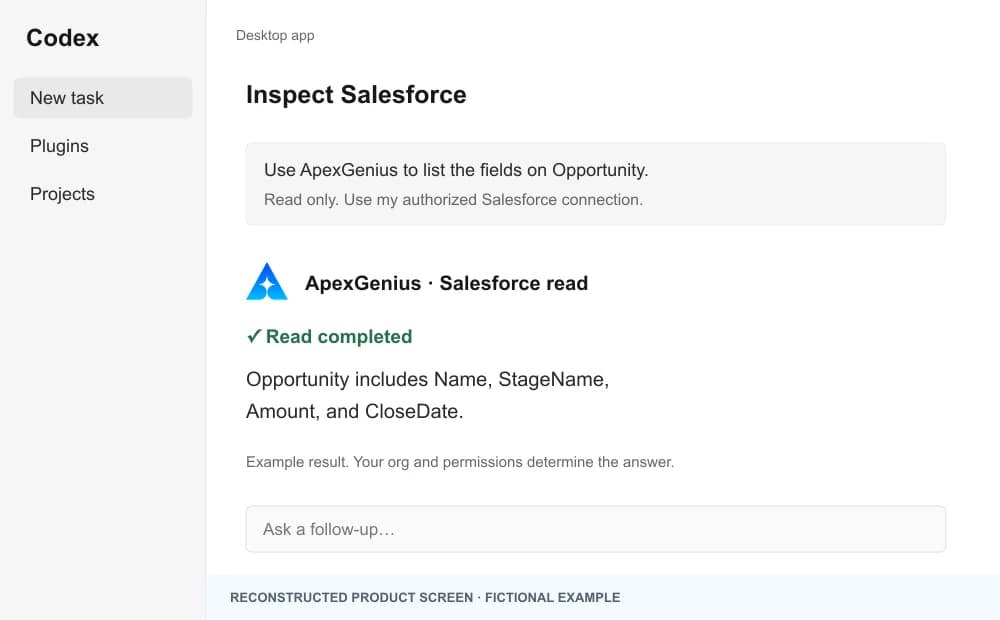
The walkthrough uses the original ChatGPT web plugin captures. After connecting, open Codex in the desktop app and start a new task with ApexGenius. A ChatGPT web connection does not verify Codex access.
A public ApexGenius plugin listing is not verified. Use a plugin shared with you or one you created, subject to your account and workspace policy.
Create a personal plugin
Where Developer mode is available, open ChatGPT Settings, then Security and login, and enable it. In Plugins, select the plus button, enter ApexGenius and a description, then add this URL under Connection. Create the connection, complete OAuth, and review the tools. Return to Codex in the desktop app and start a new task with the plugin enabled.
https://server.autom8.pro/mcpNo plugin available? Use desktop settings
- In the ChatGPT desktop app, open Settings, then MCP servers, then Add server.
- Name the server ApexGenius, choose Streamable HTTP, and paste the MCP address below.
- Save, select Restart, then Authenticate. Sign in to ApexGenius and authorize the intended connections and access.
- Start a new Codex task and ask one read-only question. Check the returned result and its matching successful read in Activity.
https://server.autom8.pro/mcpManual setup for developers
Codex CLI is optional. Run these commands, complete browser authorization, then start a new session. Do not paste bearer tokens or static authorization headers.
Register the remote MCP server
codex mcp add apexgenius --url https://server.autom8.pro/mcpAuthorize in your browser
codex mcp login apexgeniusInspect registered servers
codex mcp listThe desktop app, CLI, and IDE extension share MCP configuration on the same host. The IDE extension does not install plugins. ChatGPT web does not read local Codex configuration.
3. Verify one safe read
Show the name of the Notion user connected to ApexGenius. Discover the current-user read operation first, then use the read-only route. Do not open or change workspace content.
Show the name of the Notion user connected to ApexGenius. Discover the current-user read operation first, then use the read-only route. Do not open or change workspace content.Confirm the returned user matches your intended Notion account. This account read verifies the connection path; it does not test every page, write action, or Notion plan feature.
Additional reference: the Notion setup guide.
Start freeWhat it looks like in Codex
An illustrative read-only request and response. Your results come from the account and dates you choose.

apex_search_toolsNotion account · Find the Notion read routeCompleteapex_call_read_toolnotion_search_tools · Discover the current-user operationCompleteapex_call_read_toolnotion_call_read_tool · Read the current userCompleteIllustrative example: the connected user is Alex. Compare this name with the Notion account you authorized before asking about a page.
Read-only routeWhat you can ask once it is connected
“Show the name of my connected Notion user without opening workspace content.”
“Find the project page I name in my connected workspace and show its link.”
“Read this Notion page and summarize its open decisions. Do not change it.”
“Prepare an update to this page. Show the exact change and undo limits, then wait for my approval.”
You choose what Codex is allowed to touch
Choose the saved accounts and tools this Codex connection may use. Its authorization carries that scope, and each app connection’s tool and resource restrictions still apply.
- Full accessEvery enabled tool on the connections you choose.
- Read onlyLooks things up, changes nothing.
- CustomPick apps and tools one by one.
- · Notion controls the OAuth grant and the content your user can access. Workspace access can be broad; ApexGenius does not promise a separate page-level allowlist.
- · The read route checks Notion’s live tool annotation and rejects writes or unclassified operations.
- · The mutation route requires ApexGenius approval. Available operations and plan limits come from the current Notion catalog.
- · Disconnecting stops future gateway access. It does not undo a page edit, comment, upload, or other completed action.
The Notion operations Codex can run
3 operations: 2 Read and 1 Write. Available tools depend on your connection and permissions. Review any action that changes or removes data. Codex discovers these operations through the ApexGenius gateway.
notion_search_toolsReadSearch the live tool catalog published by Notion's official hosted MCP. Returns matching names, descriptions, and schemas.notion_call_read_toolReadRun a discovered Notion operation only when its live catalog marks it read-only. Writes and unclassified operations are rejected.notion_call_toolWriteRun a reviewed Notion change after approval, including destructive actions when the live tool permits them. Review the target and undo limits first.
Questions people ask first
How do I connect Notion?
Open Notion in ApexGenius Connections, choose Connect, and authorize the intended workspace in Notion. No Notion API key is pasted into ApexGenius.
Which pages can my AI read?
Your connected Notion user’s permissions set the content boundary. Enable the intended workspace resource in ApexGenius and select the tools your AI agent can use. This does not create a page-level allowlist.
Can I start with read-only access?
Yes. Choose Read only for your AI agent and use the dedicated Notion read route. This limits gateway calls; it does not change Notion’s underlying OAuth grant.
Can my agent update a page?
When the live Notion catalog and your access permit it, the existing mutation route can request the change. It requires approval. Review the exact page, proposed change, and undo limits first.
Are all Notion features included?
The tools available to your connected account depend on Notion’s live catalog, your permissions, and your plan. A successful account read does not certify every feature.
Connect Notion to Codex today
Start free7 days free. No card required. Disconnect any time.