

Connect Grok Bot to Notion
Connect Grok Bot to Notion in 3 steps: 1. Sign in to ApexGenius and connect Notion. 2. Add the ApexGenius plugin. 3. Start using Notion in Grok Bot.
1,000 free credits · No card required
How to connect Notion to Grok Bot
- 1Sign in to ApexGenius and connect Notion
- 2Add the ApexGenius plugin to Grok Bot
- 3Start using Notion in Grok Bot
- 1
Connect Notion to ApexGenius
Open Notion in ApexGenius
Open Notion in Connections and choose Connect.
- 2
Connect ApexGenius to Grok Bot
Choose Grok Bot
Back on Start, pick Grok Bot and copy the prompt.
- 3
Approve access
ApexGenius opens its approval page. Review the access, then approve.
Add the ApexGenius plugin to Grok Bot
Grok Bot keeps app connections on the Cursor account you sign in with, under Connect apps in the sidebar. They are not in Settings, and there is no config file.
- In ApexGenius, pick Grok Bot on Start and copy the setup prompt.
- Paste it into Grok Bot. It adds the server and opens the approval in your browser.
- When Grok Bot asks you to Authorize or Authenticate, finish the ApexGenius sign-in and approve access.
The MCP address
https://server.autom8.pro/mcp
Check it. Open Connect apps in the sidebar and confirm ApexGenius appears under Installed.
Steps follow Cursor Help, Connect apps in Grok Bot (opens in a new tab), read November 12, 2026.
Then ask Grok Bot
Show the name of the Notion user connected to ApexGenius. Discover the current-user read operation first, then use the read-only route. Do not open or change workspace content.
Written setup, step by stepShow
Before you start
- A Notion account with access to the workspace you want to connect.
- Permission from your workspace owner if your organization limits MCP connections.
1. Connect Notion to ApexGenius
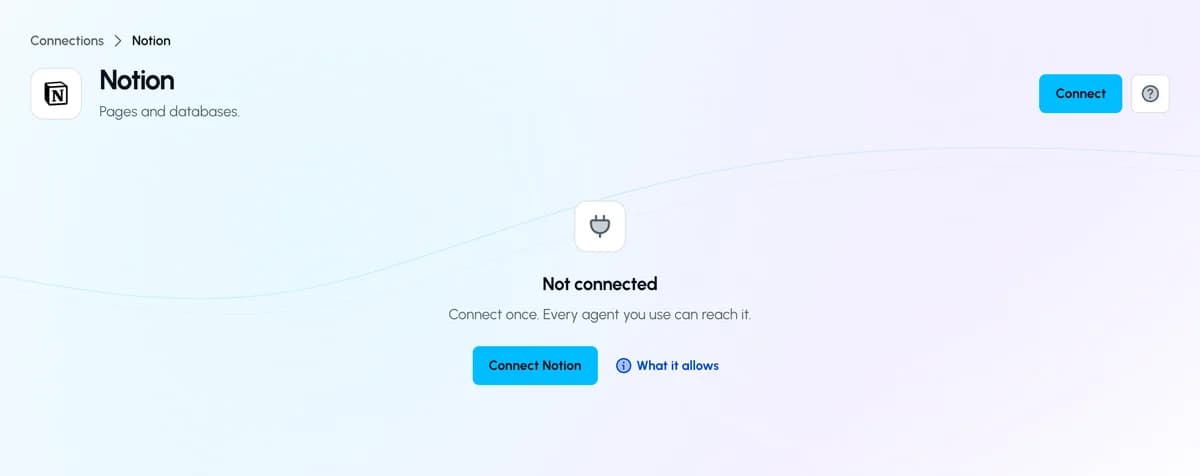
- Open Notion in Connections. Sign in to ApexGenius, open Connections, choose Notion, and select Connect.
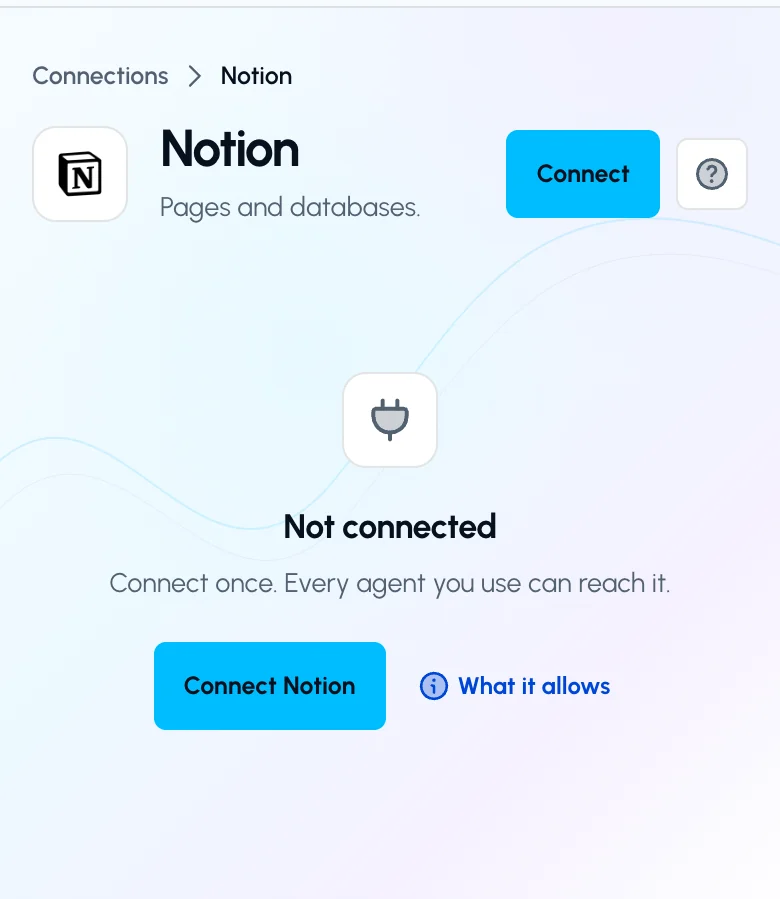
Open Notion in Connections and choose Connect to start setup.Open full-size image (opens in a new tab) - Choose the account and review access. Sign in to the intended Notion account. Choose your workspace and review Notion’s requested access. Return to ApexGenius after authorization.
- Check the workspace and tools. Open Tools and enable the intended workspace resource. Your existing Notion permissions set the content boundary. Choose Read only when adding your AI agent for the first test.
- Verify the connected account. Use Test connection, then ask your AI the question below. Compare the returned user with the account you authorized and check Tool Activity.
2. Connect ApexGenius to Grok Bot
Use this server address when adding the connection:
https://server.autom8.pro/mcpThe steps are above, under Add the ApexGenius plugin to Grok Bot. These notes apply to Grok Bot only.
- Added is not signed in. An app marked Added is installed. If Grok Bot still says it is missing, open it from Connect apps and choose Authenticate, or Authorize on the phone.
- Cursor teams. Your team’s Cursor connector policy applies to Grok Bot. If the app says Disabled by team admin, ask your Cursor admin to enable it, then restart the app.
- If sign-in does not finish. Choose Reconnect on the app, or Reopen on the in-chat card, to bring the sign-in page back.
- Access. When ApexGenius asks what Grok Bot may use, choose Read only for the first test, or Custom to limit it to the tools you need.
3. Verify one safe read
Show the name of the Notion user connected to ApexGenius. Discover the current-user read operation first, then use the read-only route. Do not open or change workspace content.
Show the name of the Notion user connected to ApexGenius. Discover the current-user read operation first, then use the read-only route. Do not open or change workspace content.Confirm the returned user matches your intended Notion account. This account read verifies the connection path; it does not test every page, write action, or Notion plan feature.
Full guide: the Notion setup guide.
What it looks like in Grok Bot
Illustration of a task, not a recorded customer result. Your answers come from the account and dates you choose.
apex_search_toolsNotion account · Find the Notion read routeCompleteapex_call_read_toolnotion_search_tools · Discover the current-user operationCompleteapex_call_read_toolnotion_call_read_tool · Read the current userCompleteIllustrative example: the connected user is Alex. Compare this name with the Notion account you authorized before asking about a page.
Read-only routeWhat to ask Grok Bot about Notion
- Check the account
Show the name of my connected Notion user without opening workspace content.
Runs
notion_search_tools(read), thennotion_call_read_tool(read). - Find a page
Find the project page I name in my connected Notion workspace.
Runs
notion_search_tools(read), thennotion_call_read_tool(read). - Read a source
Read this Notion page and summarize its open decisions. Do not change it.
Runs
notion_search_tools(read), thennotion_call_read_tool(read).
These 3 questions use 2 of Notion’s 3 operations. The full list is below.
- Find the project page I name in my connected workspace and show its link. (read)
- Update this page. Show the exact change and undo limits first. (write)
What Grok Bot can do in Notion
3 operations: 2 read, 1 write. Read looks things up and changes nothing. Writes change Notion and run only when you turn them on.
Notion gateway tools
2 read · 1 writenotion_search_toolsreadSearch the live tool catalog published by Notion's official hosted MCP. Returns matching names, descriptions, and schemas.
notion_call_read_toolreadRun a discovered Notion operation only when its live catalog marks it read-only. Writes and unclassified operations are rejected.
notion_call_toolwriteRun a reviewed Notion change when enabled, including destructive actions when the live tool permits them. Review the target and undo limits first.
You choose the access. When you approve Grok Bot, pick Full access, Read only, or Custom.
Notion controls the OAuth grant and the content your user can access. Workspace access can be broad; ApexGenius does not promise a separate page-level allowlist.
The read route checks Notion’s live tool annotation and rejects writes or unclassified operations.
The mutation tool must be enabled. Available operations and plan limits come from the current Notion catalog.
Disconnecting stops future gateway access. It does not undo a page edit, comment, upload, or other completed action.
Questions about connecting Grok Bot to Notion
Updated November 12, 2026.
How do I connect Grok Bot to Notion?
Connect Grok Bot to Notion through ApexGenius in three steps. Sign in to ApexGenius and connect Notion by authorizing your workspace in Notion. In Grok Bot, paste the ApexGenius setup prompt, then choose Authorize or Authenticate and finish the sign-in in your browser. Then open a task in Grok Bot and ask a question about your Notion. Start with a read, so nothing changes.
How do I check that Grok Bot can use Notion?
Open Connect apps in the Grok Bot sidebar. ApexGenius should appear under Installed. Added means it is installed, not that you are signed in, so open it and choose Authenticate if it asks. On a Cursor team, an app marked Disabled by team admin needs your admin to enable it. Then ask: “Show the name of the Notion user connected to ApexGenius. Discover the current-user read operation first, then use the read-only route. Do not open or change workspace content.”
Is there a Notion MCP server for Grok Bot?
Yes. ApexGenius is an MCP server that Grok Bot connects to once. It carries your Notion connection and 3 Notion operations, so Grok Bot does not need a separate Notion integration or plugin. You set it up one time and add each agent the same way.
What can Grok Bot do in Notion once it is connected?
Grok Bot can use 3 Notion operations through ApexGenius: 2 that find what Notion offers and run a classified read, and 1 that runs a change you have enabled. Together they find accessible pages, read the sources you choose, and update pages, within your Notion access and plan.
Can Grok Bot read all my Notion pages?
Grok Bot reaches what your connected Notion user can access in the authorized workspace. That access can be broad, and ApexGenius does not promise a separate page-level allowlist. You enable the workspace resource and choose which tools Grok Bot may use. Notion controls the sign-in grant.
Can Grok Bot change my Notion?
Not until you enable the change tool. Choose Read only and Grok Bot uses the read route, which rejects writes. With the tool enabled, it can update a page when the live Notion catalog and your access allow it. Check the exact page and the undo limits first.
Can I use the same Notion connection with Claude, ChatGPT or Muse?
Yes. One Notion connection in ApexGenius works with every compatible agent you add, including Claude, ChatGPT or Muse. Each agent gets its own access choice and its own short setup. The Notion skills loads in all of them, so it travels with the connection.
More connections like this one
Grok Bot with other apps
 Mobbin
 Slack
 Discord
 Context.dev
 Google Meet
 Gmail
 Google Chat
 Google Docs
All 48 apps Grok Bot can use
 Google Drive
 Google Slides
 Atlassian Rovo
 Polymarket
 OP.GG
 Confluence
 Supabase
 Cal.com
 ChatGPT Ads
 GitHub
 Stripe
 Attio
 Semrush
 Apify
 Linear
 Jira
 HQ Rental
 Google Ads
 Google Analytics
 Google Forms
 Google Tasks
 Google Calendar
 Google Sheets
 Apollo
 Blotato
 Bing Webmaster
 Calendly
 ClickUp
 monday.com
 YouTube
- YouTube Analytics
 Salesforce
 n8n
 Google Search Console
 ElevenLabs
 FreshBooks
 Trello
 GitLab
 TypeSafe
 HubSpot
Other agents with Notion
 Claude
 Muse
Connect Notion to Grok Bot today
Start free1,000 free credits. No card required. Disconnect any time.