

Connect Codex to Google Docs
Connect Codex to Google Docs in 3 steps: 1. Sign in to ApexGenius and connect Google Docs. 2. Add the ApexGenius plugin. 3. Start using Google Docs in Codex. Start in Plugins in the ChatGPT desktop app and authorize your connection.
1,000 free credits · No card required
How to connect Google Docs to Codex
- 1Sign in to ApexGenius and connect Google Docs
- 2Add the ApexGenius plugin to Codex
- 3Start using Google Docs in Codex
FirstConnect Google Docs to ApexGenius
ThenConnect ApexGenius to Codex
Google Docsapexgenius.ai/connections/google_docs1 of 3Connect Google Docs. Open Google Docs in ApexGenius and choose Connect.
Then ask Codex:
Find the available Google Docs read tools. Do not open or change a document.
Written setup, step by stepShow
Before you start
- An account with permission to use the Google Docs resources you intend to connect.
1. Connect Google Docs to ApexGenius
- Open Google Docs in Connections. Choose Connect, or Add connection when offered. Give the connection a name if prompted. If Gateway setup pending appears, contact ApexGenius support before continuing.
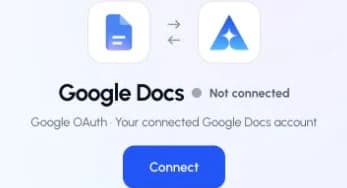
Open Google Docs in Connections and choose Connect to start setup.Open full-size image (opens in a new tab) - Choose the account and review access. Sign in to the Google account that has access to the intended resources. Review the permissions Google requests, then return to ApexGenius.
- Review the connected account and resources. Find Allowed resources on the connection page or its Tools tab. Choose Refresh and enable only the connected Docs account. Resource selection does not add permissions to the Google account.
- Check the connection. Use Test connection or Check again and read the reported status. Add an AI agent from the AI agents page, choose Read only for the first test, and try the question below.

2. Connect ApexGenius to Codex
- In the desktop app, open Settings, then MCP servers and Add server.
- Name the server ApexGenius, choose Streamable HTTP, and paste the MCP address above.
- Save, then select Restart. Choose Authenticate for ApexGenius and complete the browser sign-in.
- When ApexGenius asks what this AI client may use, choose Read only for the first test, or Custom to limit it to the tools you need.
- Start a new conversation and select ApexGenius from the available tools before asking for live data.
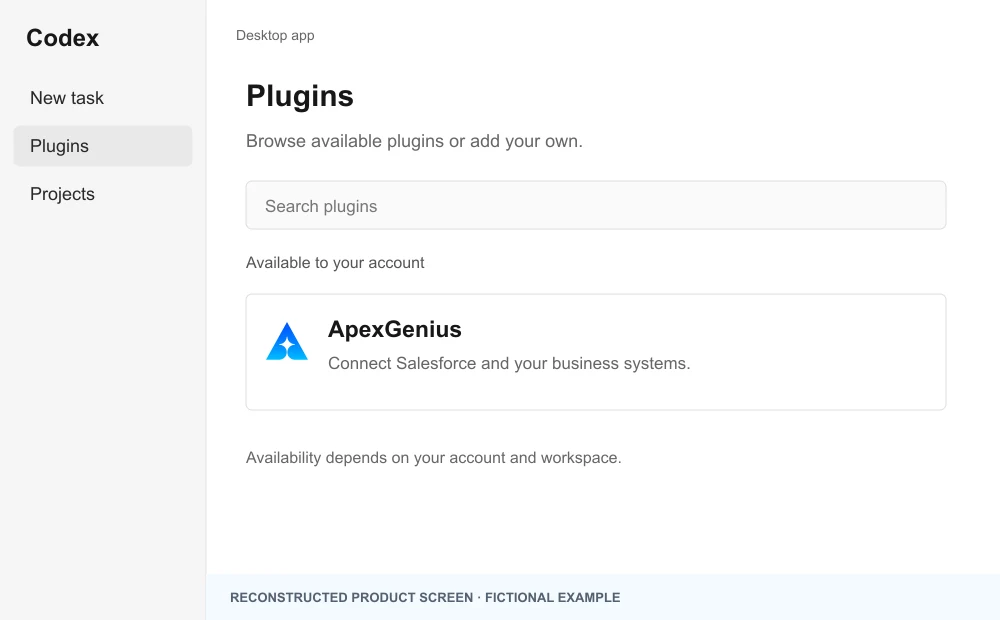
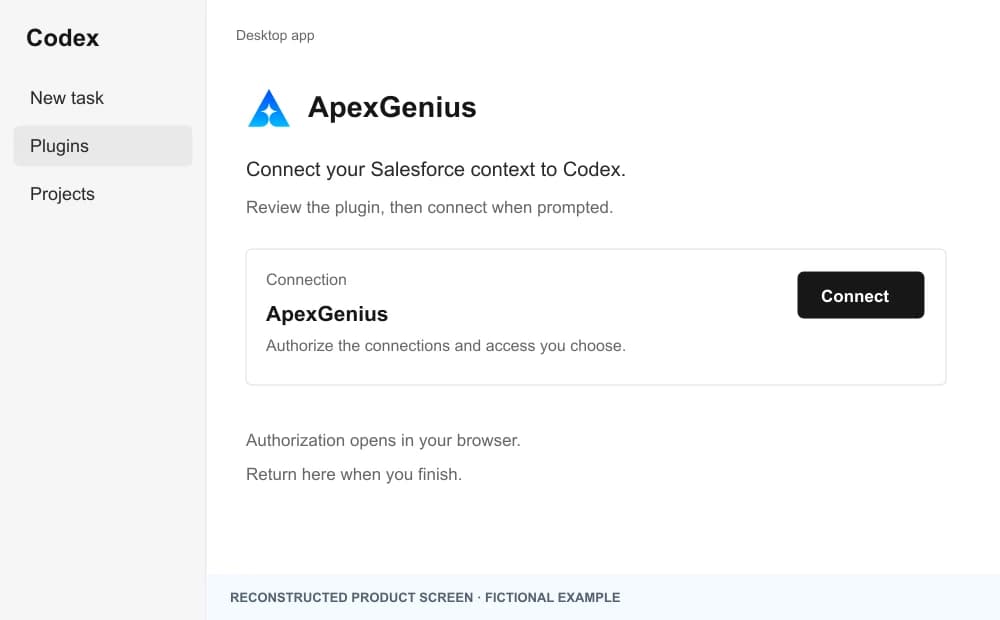
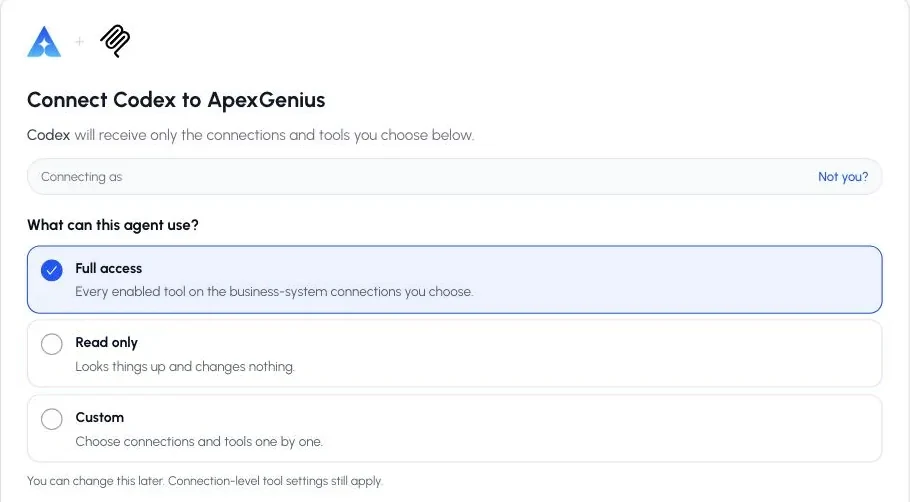
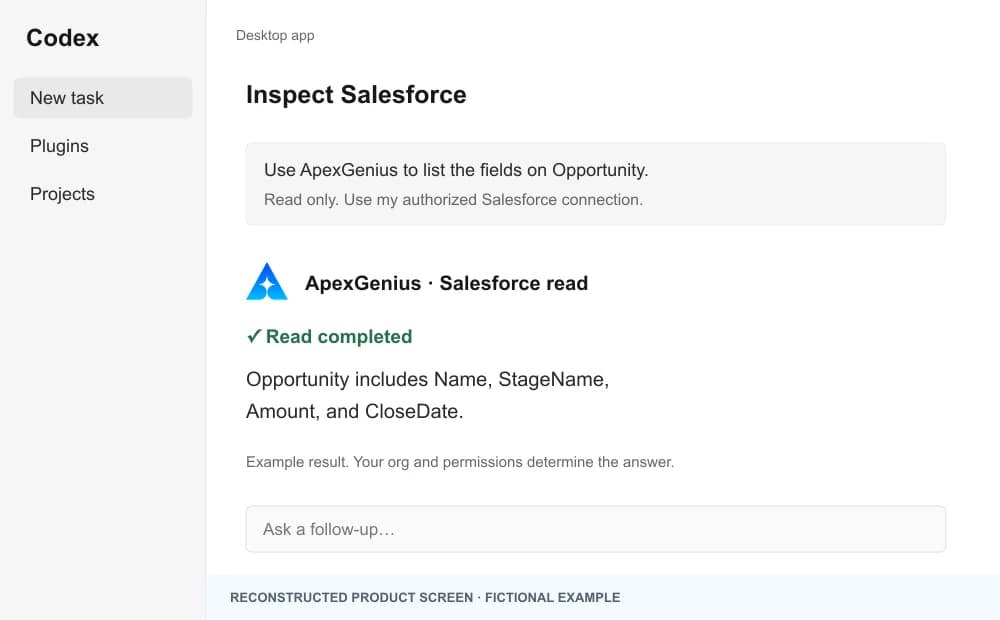
The walkthrough uses the original ChatGPT web plugin captures. After connecting, open Codex in the desktop app and start a new task with ApexGenius. A ChatGPT web connection does not verify Codex access.
A public ApexGenius plugin listing is not verified. Use a plugin shared with you or one you created, subject to your account and workspace policy.
Create a personal plugin
Where Developer mode is available, open ChatGPT Settings, then Security and login, and enable it. In Plugins, select the plus button, enter ApexGenius and a description, then add this URL under Connection. Create the connection, complete OAuth, and review the tools. Return to Codex in the desktop app and start a new task with the plugin enabled.
https://server.autom8.pro/mcpNo plugin available? Use desktop settings
- In the ChatGPT desktop app, open Settings, then MCP servers, then Add server.
- Name the server ApexGenius, choose Streamable HTTP, and paste the MCP address below.
- Save, select Restart, then Authenticate. Sign in to ApexGenius and authorize the intended connections and access.
- Start a new Codex task and ask one read-only question. Check the returned result and its matching successful read in Activity.
https://server.autom8.pro/mcpManual setup for developers
Codex CLI is optional. Run these commands, complete browser authorization, then start a new session. Do not paste bearer tokens or static authorization headers.
Register the remote MCP server
codex mcp add apexgenius --url https://server.autom8.pro/mcpAuthorize in your browser
codex mcp login apexgeniusInspect registered servers
codex mcp listThe desktop app, CLI, and IDE extension share MCP configuration on the same host. The IDE extension does not install plugins. ChatGPT web does not read local Codex configuration.
3. Verify one safe read
Find the available Google Docs read tools. Do not open or change a document.
Find the available Google Docs read tools. Do not open or change a document.Compare the returned account and resource with Google Docs. Check the connection status separately from the result of the first read.
What Codex can do in Google Docs
2 operations. Read looks things up and changes nothing. Write changes Google Docs and runs only when that tool is enabled.
Read1 operation
Looks things up. Changes nothing.Read
read_docRead a document’s text and structure, with its comments if you ask.
Write1 operation
Changes Google Docs. Runs only when enabled.Edit
update_docInsert, replace, delete and format text, tables, images and comments, or make the edits as suggestions.
You choose what Codex can use
When you approve Codex, pick Full access, Read only, or Custom. Read only allows the Read operations and nothing else. Custom picks apps and tools one by one.
Limits in Google Docs
- · The connected Google account decides which documents can be read and changed.
- · Edits can also delete text. Ask for suggestions when you want to review each change first.
- · Enabled writes run immediately. Turn a tool off to block calls.
- · Disconnecting stops future access. It does not undo an edit; use the document’s version history.
What it looks like in Codex
An illustrative read-only request and response. Your results come from the account and dates you choose.
apex_search_toolsGoogle Docs read · Find Google Docs toolsCompleteapex_call_write_toolread_doc · Read the documentCompleteIllustrative example: five bullets covering the goal, the budget, the timeline, the risks and the owner. Nothing was changed.
Read-only routeTry asking
“Read the doc I link and summarize it in five bullets. Do not change it.”
“List the open questions in the meeting notes doc I name.”
“Read the comments on the proposal doc and list who still needs an answer.”
“Fix the typos in the doc I name as suggestions, so I can accept each one.”
More connections like this one
One ApexGenius account covers every pair below. Connect an app once and each agent you allow can use it.
Codex with other apps
 MobbinConnect Codex to Mobbin
 Cal.comConnect Codex to Cal.com
 SlackConnect Codex to Slack
 DiscordConnect Codex to Discord
 ChatGPT AdsConnect Codex to ChatGPT Ads
 GitHubConnect Codex to GitHub
 StripeConnect Codex to Stripe
 Context.devConnect Codex to Context.dev
 AttioConnect Codex to Attio
 SemrushConnect Codex to Semrush
 NotionConnect Codex to Notion
 ApifyConnect Codex to Apify
 LinearConnect Codex to Linear
 JiraConnect Codex to Jira
 HQ RentalConnect Codex to HQ Rental
 Google AdsConnect Codex to Google Ads
 Google AnalyticsConnect Codex to Google Analytics
 Google FormsConnect Codex to Google Forms
 Google MeetConnect Codex to Google Meet
 Google TasksConnect Codex to Google Tasks
 GmailConnect Codex to Gmail
 Google CalendarConnect Codex to Google Calendar
 Google ChatConnect Codex to Google Chat
 Google DriveConnect Codex to Google Drive
 Google SheetsConnect Codex to Google Sheets
 Google SlidesConnect Codex to Google Slides
 ApolloConnect Codex to Apollo
 BlotatoConnect Codex to Blotato
 Bing WebmasterConnect Codex to Bing Webmaster
 CalendlyConnect Codex to Calendly
 ClickUpConnect Codex to ClickUp
 YouTubeConnect Codex to YouTube
- YouTube AnalyticsConnect Codex to YouTube Analytics
 SalesforceConnect Codex to Salesforce
 n8nConnect Codex to n8n
 ConfluenceConnect Codex to Confluence
 Google Search ConsoleConnect Codex to Google Search Console



Questions people ask first
How do I connect Google Docs?
Open Google Docs in ApexGenius Connections, choose Connect, and sign in with the Google account that can open your documents.
Which documents can my AI read?
Any document the connected Google account can open. Give your AI the link, or let it find the document with Google Drive.
Can my AI change a document?
Yes. It can edit directly or make suggestions you accept in Docs. Enabled writes run immediately. Turn a tool off to block calls.
Can my AI create a new document?
Not with the Docs tools. Connect Google Drive, which can create a new document.
Will this list of tools change?
Google publishes the Docs MCP tools, and ApexGenius reads Google’s live list on every search. This page shows the list as of its review date.
Connect Google Docs to Codex today
Start free1,000 free credits. No card required. Disconnect any time.